Try Nexus with the MovieLens Dataset
In this tutorial, you will use the core features of the Nexus ecosystem through our sandbox. This requires minimal technical knowledge but the ability to install a Python library and run a jupyter notebook.
In the first step, you’ll learn:
- to login into our Nexus Sandbox,
- create an organization and project,
- get your personal token.
In the second step, you’ll learn:
- install Nexus Forge,
- configure a Knowledge Graph forge,
- transform data,
- load the transformed data into the project,
- search for data using a SPARQL query.
In the third step, you’ll learn:
- create a Studio in Nexus Fusion,
- visualize and filter loaded data.
Finally, check our Learn More section for more advanced tutorials based on the same datasets.
Configuring your Project in Nexus Fusion
The Nexus Sandbox is a deployment of Nexus Delta and Fusion publicly available to anybody. Please note that you should not store any sensitive data in this environment. Also, we do not offer guaranty as to how long the data will be kept, this is only for learning and testing purposes.
Nexus Fusion is the web interface that you will use in order to interact with Nexus Delta (the web services that manages the underlying knowledge graph).
Please bear in mind that the data stored in the Nexus Sandbox is being purged at regular intervals. We recommend you do not store any sensitive data in this environment since it is accessible to many other users.
The first step is to login, by clicking in the upper right corner of the screen. You can login with your Github credentials.
The Sandbox environment automatically provisions a project for you so you don’t have to. From the landing page, click on the “Organizations” card and you will see the list of organisations in Nexus. A project is contained in an organisation. The organisation where your project is created depends on your identity provider. If you logged in with GitHub for example, your project was created under the github-users organisation.

Now open the github-users organisation and find your own project, which is named after your login. Once the project is created, you’ll land on the project view. There is no resources at first. Wait for it. You will quickly see that the project has finished indexing (top right corner).
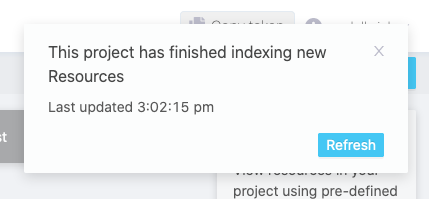
Which means that the system has created default indices and storage for you.

We’re all set! We now have a project to host our resources and datasets. Let’s move on to the second part of this tutorial.
Working with Data in Nexus Forge
We’ll load the MovieLens dataset into the created project within Nexus Delta using the python framework Nexus Forge.
A jupyter notebook is available for this part of the tutorial and can be spawn easily using Google Colab, binder, or locally:
For local execution, Nexus Forge can be installed using these instructions. Make sure that the jupyter notebook|lab is launched in the same virtual environment where Nexus Forge is installed. Alternatively, set up a specialized kernel.
If you want to try some other examples of Nexus Forge, you can use these notebooks.
The next step is to use this query to create a Studio view in Nexus Fusion.
Exploring the Graph in Nexus Fusion
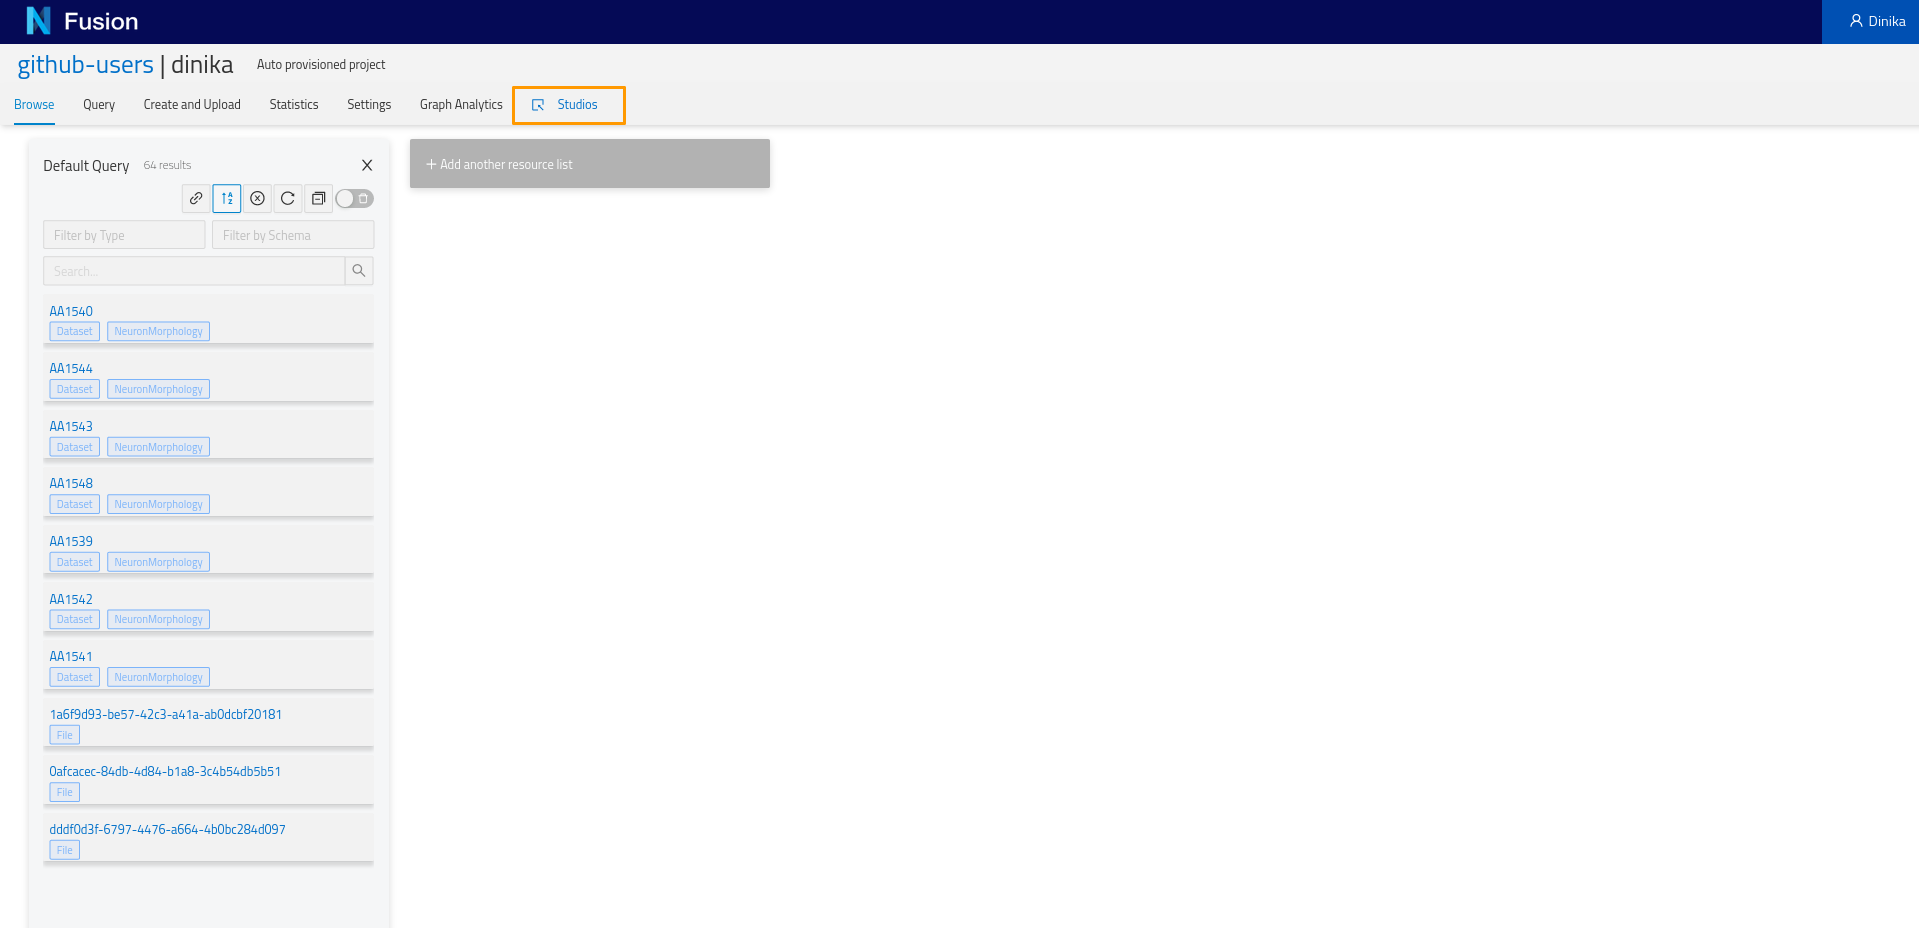
Login the Sandbox and navigate your previously created project.
Click on the studio tab.
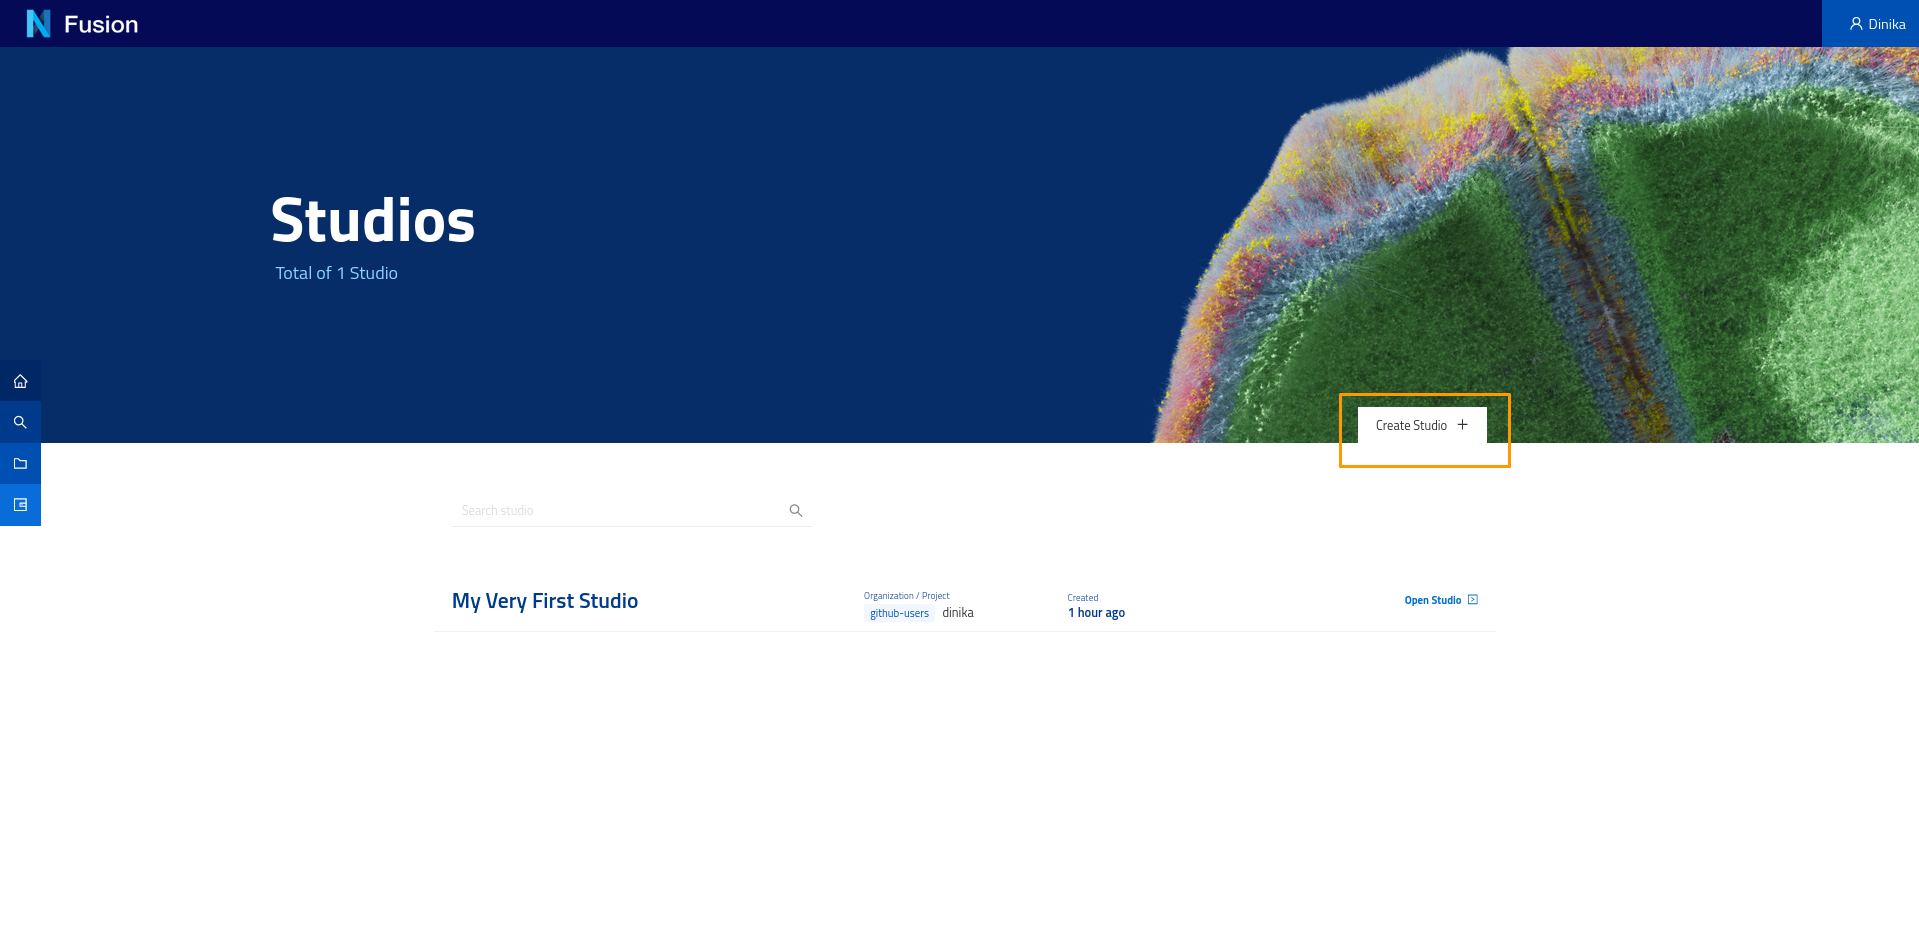
In a new browser tab, you will see a list of all studios you have access to. Click on Create Studio.
Give a name to your Studio and click Save.

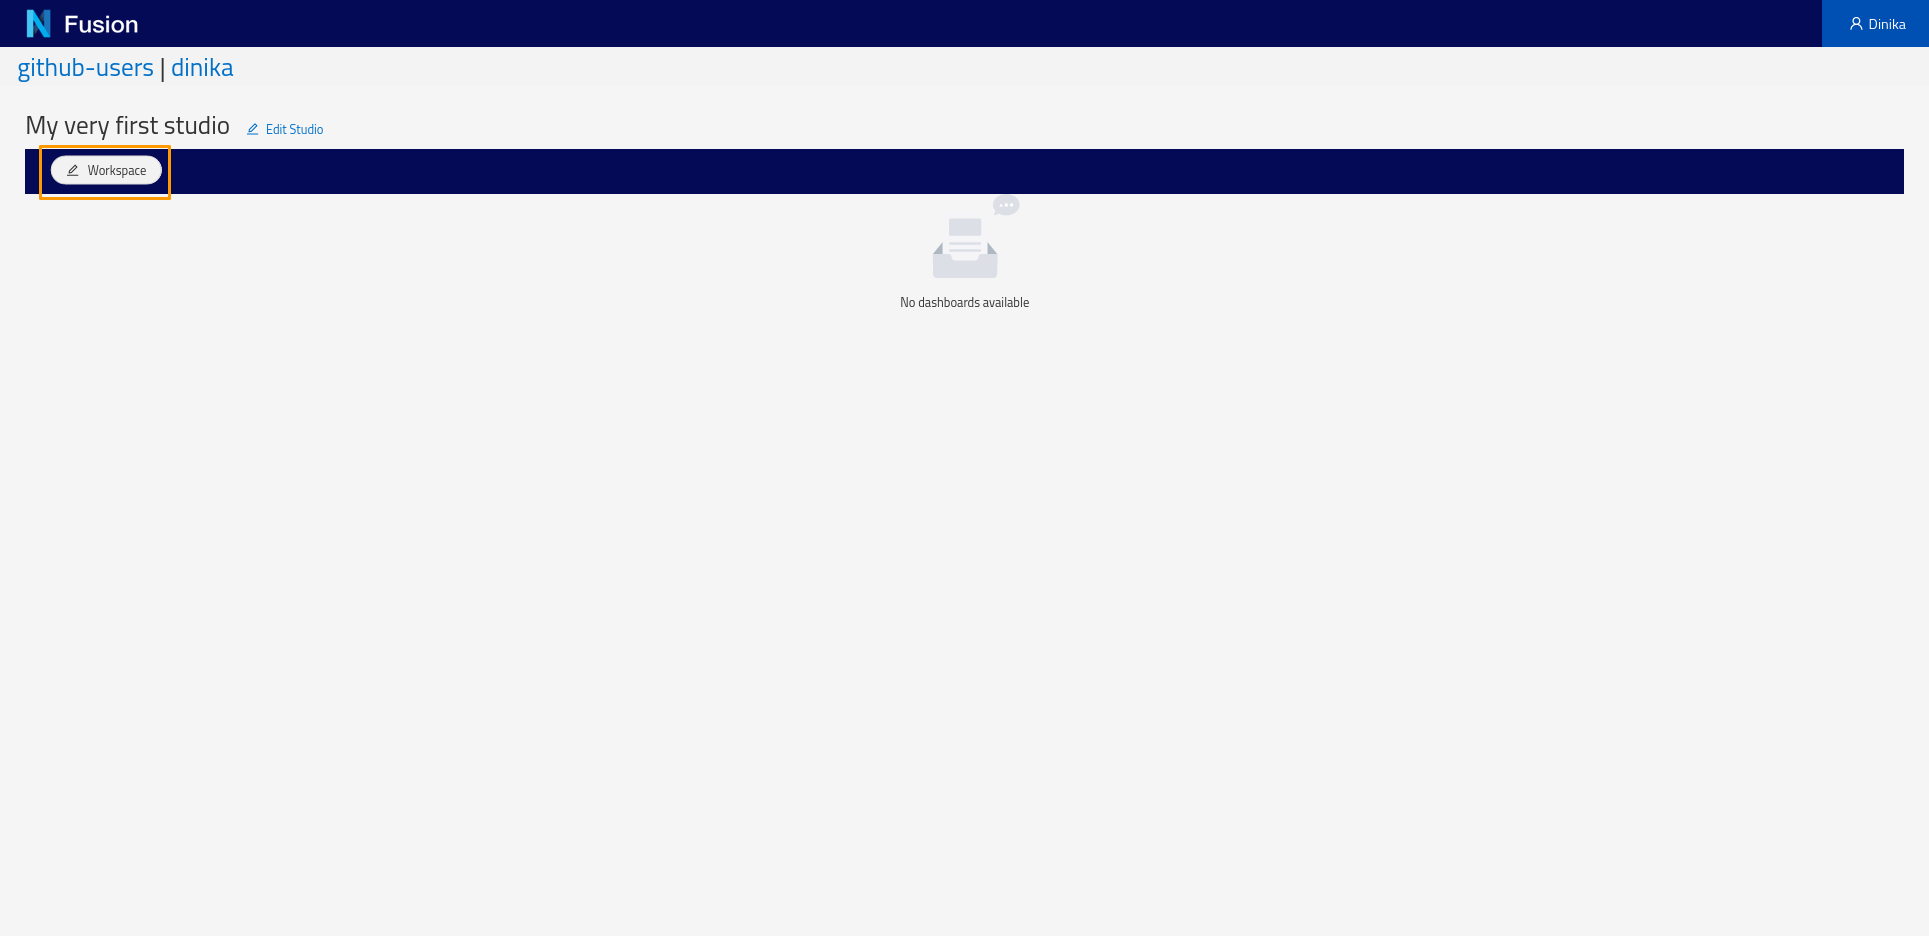
Here’s your empty Studio. Click the + icon to Add Workspace.
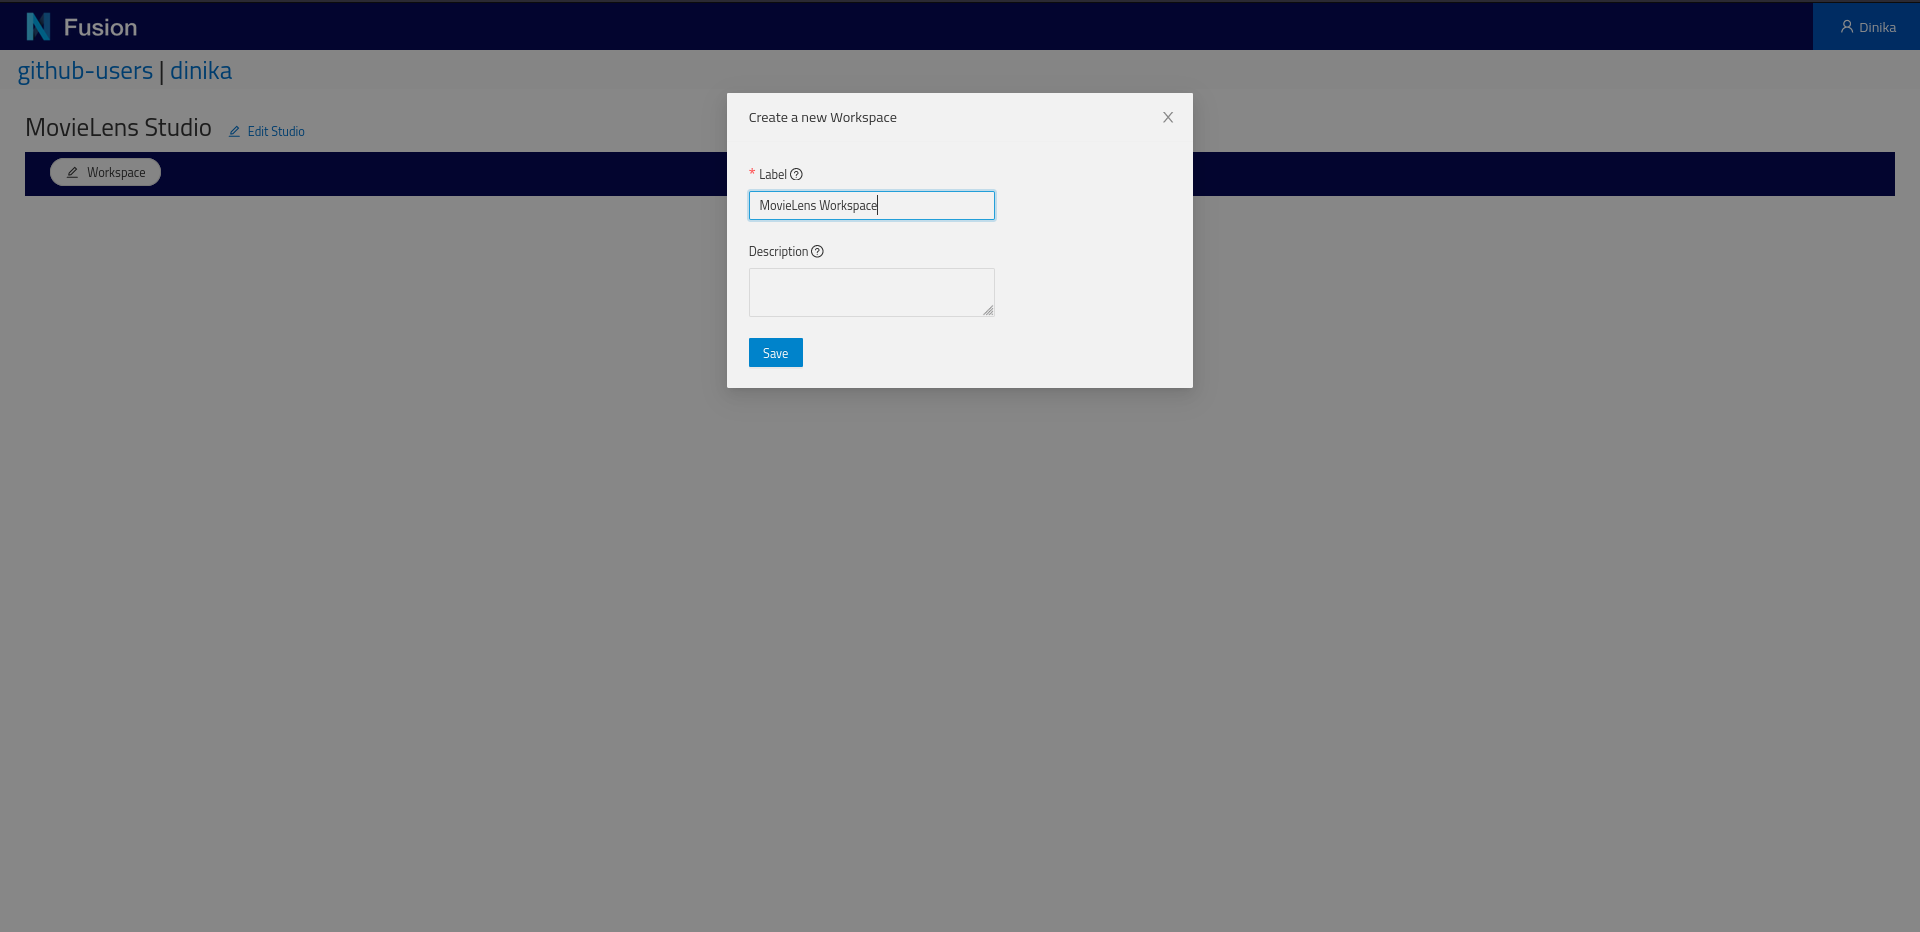
Give a name to your Workspace and click Save.
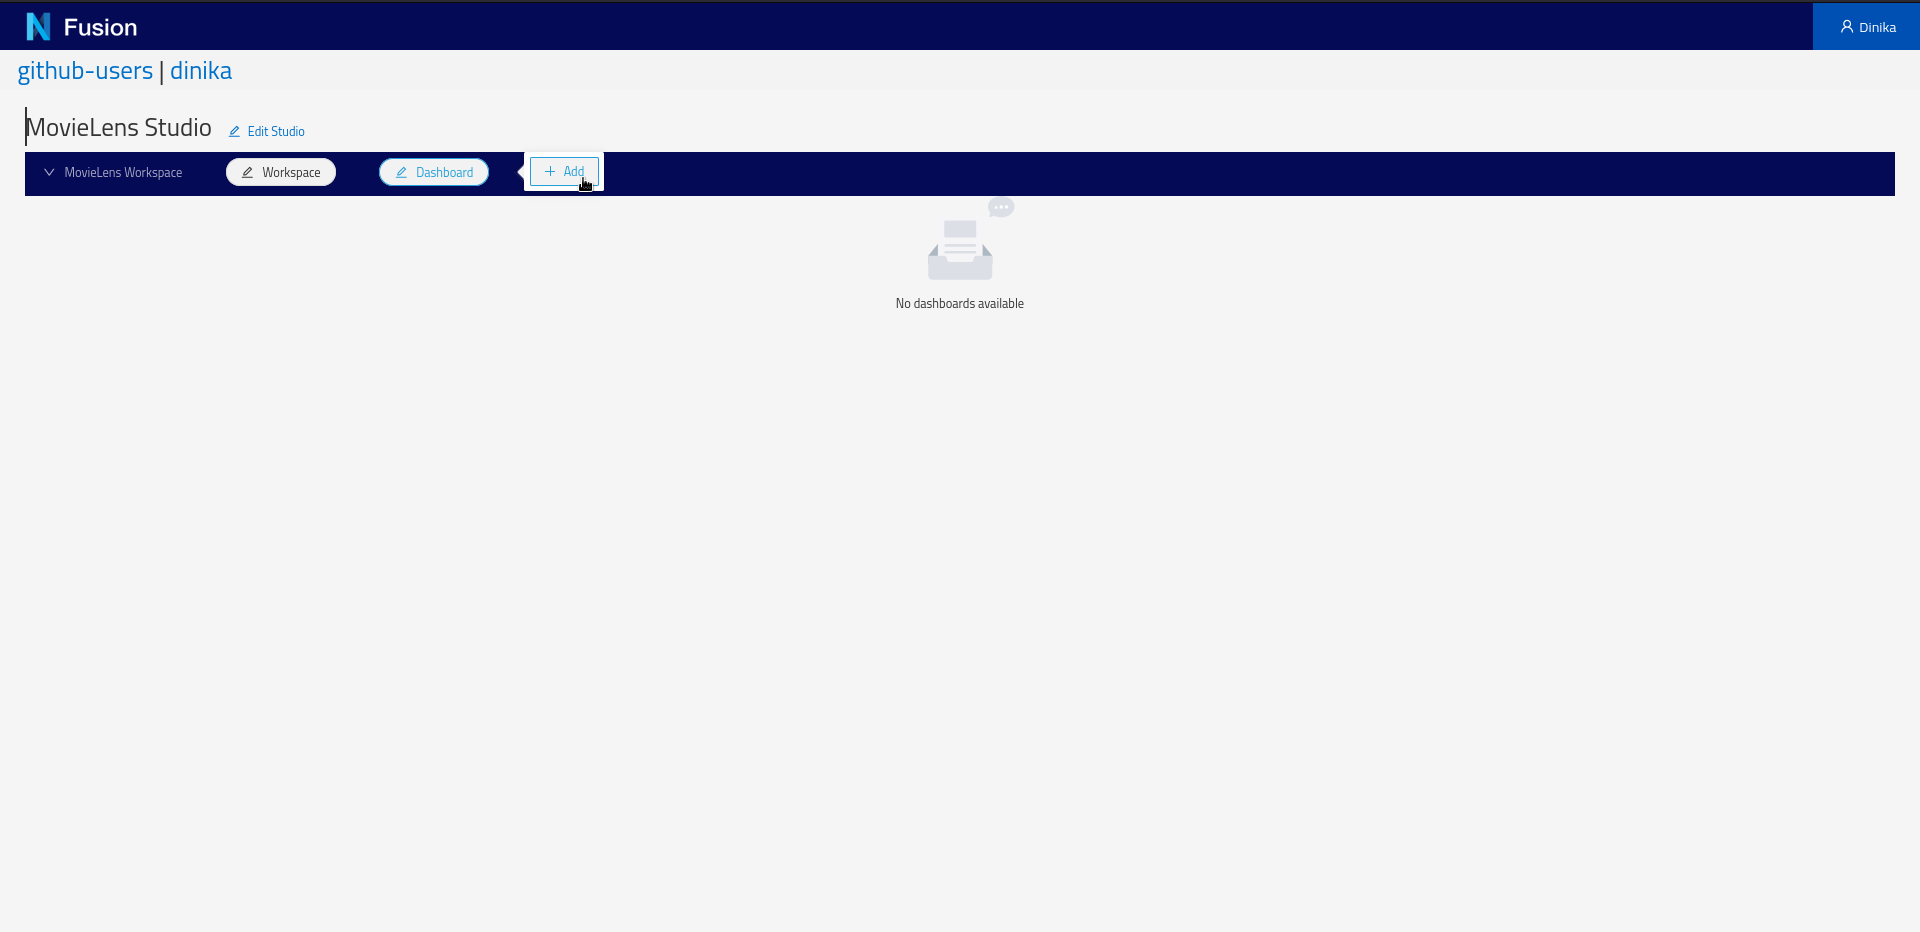
You now have one Workspace configured. Click the + icon to Add Dashboard..
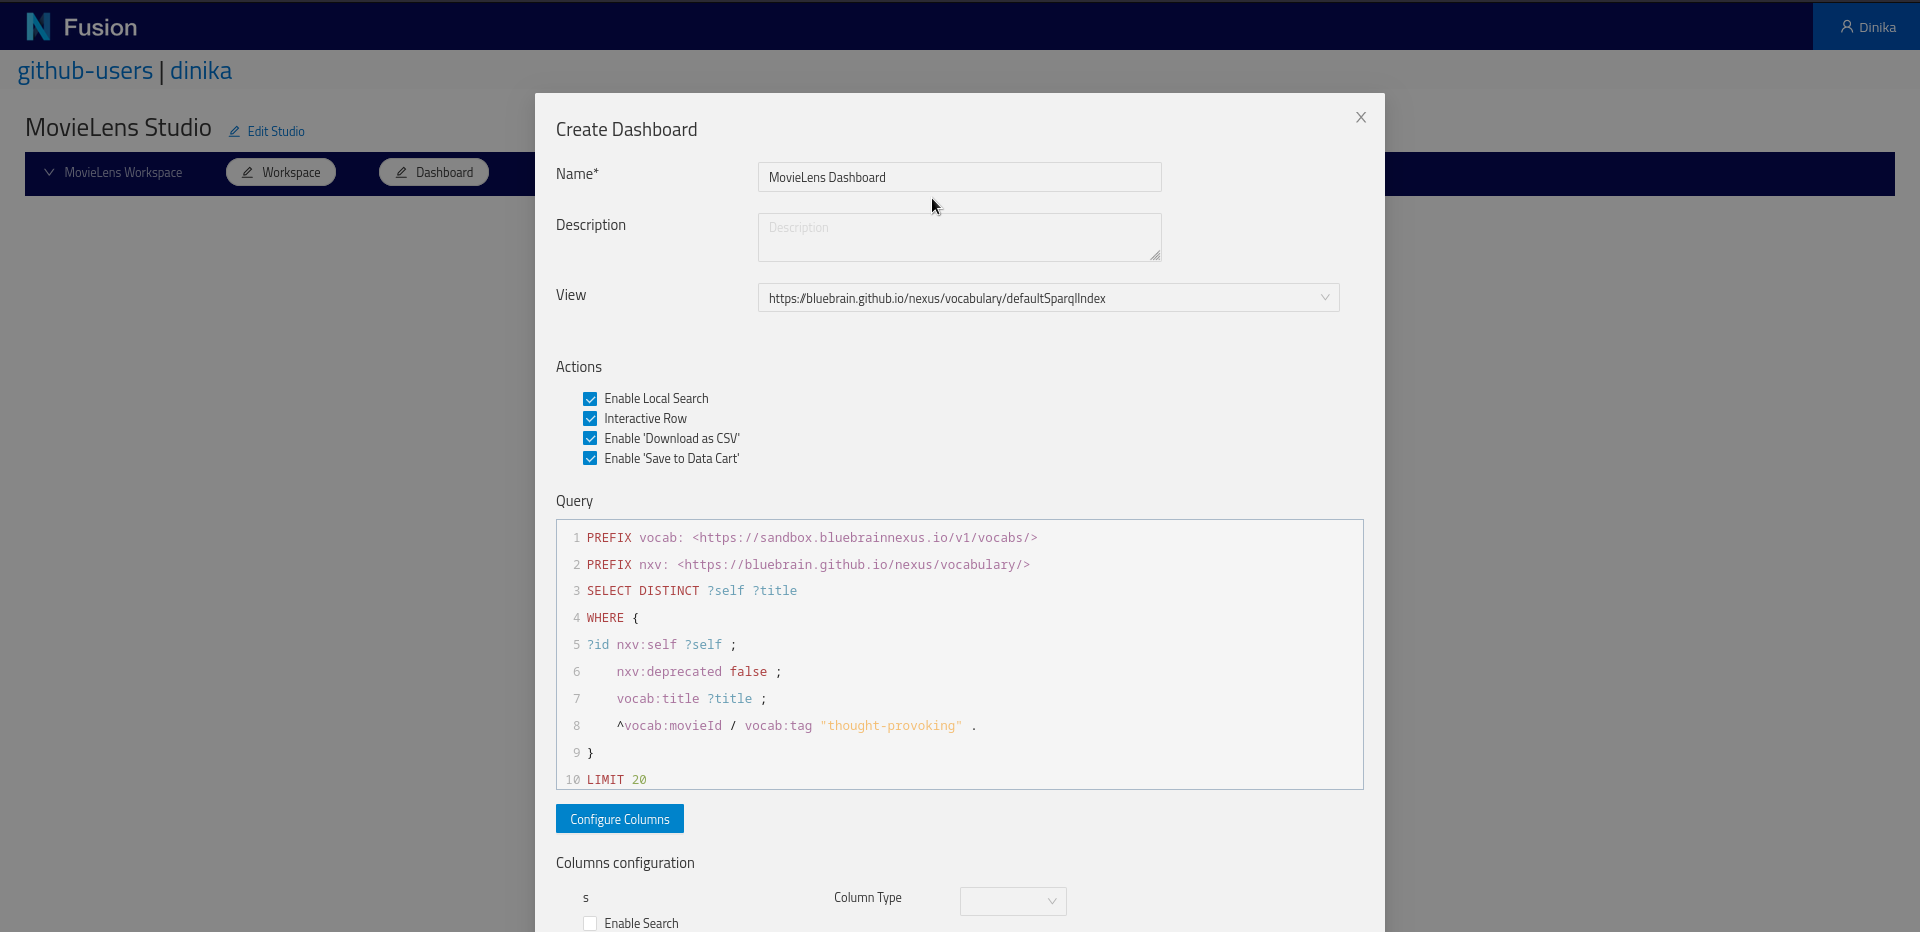
In order to query the graph in a Studio Dashboard, a small modification of the previous query is necessary. You can find more information about it in the Studio docs.
PREFIX vocab: <https://sandbox.bluebrainnexus.io/v1/vocabs/>
PREFIX nxv: <https://bluebrain.github.io/nexus/vocabulary/>
SELECT DISTINCT ?self ?title
WHERE {
?id nxv:self ?self ;
    nxv:deprecated false ;
    vocab:title ?title ;
    ^vocab:movieId / vocab:tag "thought-provoking" .
}
LIMIT 20
Choose a name for your Dashboard, copy the query. For the “View” select https://bluebrain.github.io/nexus/vocabulary/defaultSparqlIndex from the dropdown. Click on Configure Columns button to see a preview of all the columns the dashboard will have. Now click Save.
And there are the results:

Good job! You just finished this introductory course to Nexus using our Sandbox. You can now install Nexus locally or continue with the tutorials below.
Learn More
Querying knowledge graph using SPARQL
This tutorial introduces the basics of SPARQL, a query language for querying RDF based knowledge graph. It also demonstrates how to query a Nexus SparqlView.
You will build queries to explore and navigate a knowledge graph using SPARQL and Nexus.
You will learn:
- the basics of the SPARQL query language,
- how to connect to and query a SparqlView in Nexus.
You will need Python 3.5 or higher with support for Jupyter notebook.
This tutorial code is available on:
Querying a Knowledge Graph using Elasticsearch
The goal of this notebook is to learn how to connect to an Elasticsearch view and run queries against it.
It is not a tutorial about the Elasticsearch DSL language for which many well written learning resources are available.
You will build a simple python client to connect to a Nexus ElasticSearchView and query a knowledge graph using Elasticsearch DSL.
You will learn how to connect to and query a ElasticSearchView in Nexus.
You will need Python 3.5 or higher with support for Jupyter notebook.
The tutorial code is available on:
Linking data on the web
In this tutorial, we demonstrate how to consume structured data published on the web according to the Linked data principles to extend and enrich a knowledge graph.
You will build a simple pipeline to query entities managed within Blue Brain Nexus, connect them with entities available on the web as structured data and extend and enrich their metadata.
You will learn:
- an understanding of linked data principles,
- how to query data stored in a Nexus SparqlView,
- how to query structured data on the web,
- how to extend the metadata of entities managed within Blue Brain Nexus with external structured data on the web: we target Wikidata as an example,
- how to update entities within Blue Brain Nexus using the SDK and enrich their metadata.
You will need Python 3.6 or higher with support for Jupyter notebook.
This tutorial code is available on: